How to setup Nebula VPN connection
what is nebula ?
Nebula, a “mutually authenticated peer-to-peer software defined network.” Nebula essentially acts as a VPN, creating a virtual network interface by which you can interact with the rest of the network.
In this setup we will be using Nebula to provide remote VPN access to the client-side box. This has a number of advantages over typical SSH-based Command and Control schemes, including stability and scalability, but there are some drawbacks as well, such as being dependent on outbound UDP, which could be blocked by a firewall.
Github: nebula
There are three primary steps we’ll take to get set-up with Nebula:
- Configure Certificate Authority
- Configure Lighthouse(s)
- Configure Nodes
2.1 Configure Certificate Authority
Nebula uses the familiar public-key cryptography model (a la TLS) where a privately controlled and trusted Certificate Authority (CA) must exist in order to create the key-pairs for each system on the network.
To create the “Master Keys” for our CA, we’ll need to download the official Nebula binary for our specific hardware and OS (amd64 Linux, in this case):
wget https://github.com/slackhq/nebula/releases/download/v1.0.0/nebula-linux-amd64.tar.gz
Unzip the binary and with this complete, there should be two executable binaries in your working directory:
Now we will use nebula-cert to generate certificate
./nebula-cert ca -name "san3ncrtypted"
This will create a public key certificate and private key.
What is lighthouse or how to configure it ?
Nebula uses a central node called lighthouse which should be on the internet. Lighthouse helps all the nodes to find each other.
For this demo, I used AWS ec2 instance. I connected the instance to a static external IP, then added a rule to the firewall to allow inbound traffic on UDP port 4242.
All node’s including lighthouse need a config.yaml file. Exaample files can be found here:
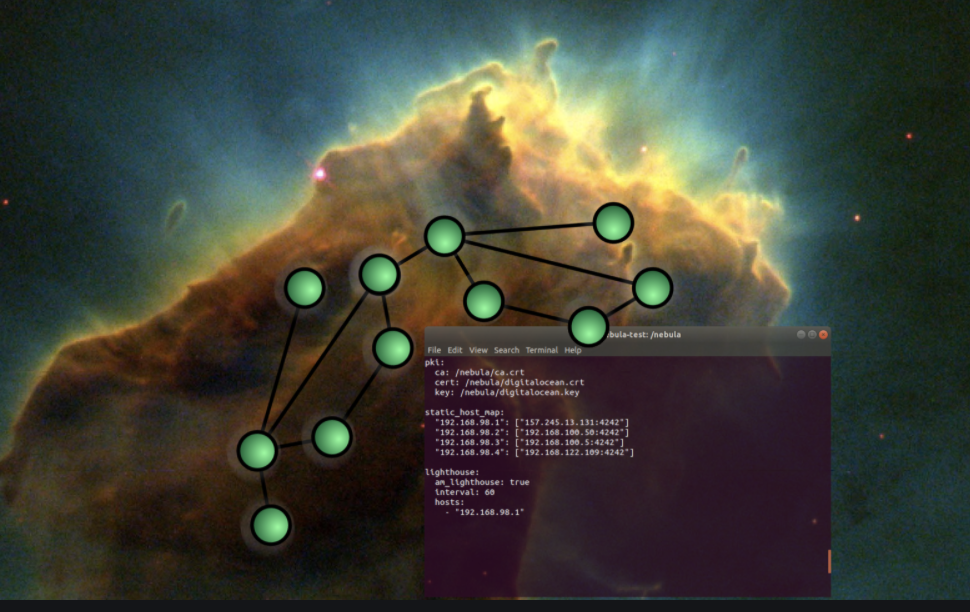
However, I made a simple config.yaml file for lighthouse:
pki:
  ca: /etc/nebula/ca.crt
  cert: /etc/nebula/host.crt
  key: /etc/nebula/host.key

static_host_map:
  "10.42.42.1": ["External IP:4242"]

lighthouse:
  am_lighthouse: true
  interval: 60

punchy: true

tun:
  dev: nebula1
  drop_local_broadcast: false
  drop_multicast: false

firewall:
  outbound:
    - port: any
      proto: any
      host: any

  inbound:
    - port: any
      proto: any
      host: any

listen:
  host: 0.0.0.0
  port: 4242
Now we need to go back to Certificate Authority VM to generate for lighthouse.
./nebula-cert sign -name "Lighthouse" -ip "10.42.42.1/24"
Now ZIP both the keys generated from the above command and config.yaml above and transfer the ZIP into lighthouse ec2 instance.
Unzip the file into a directory under etc/nebula:
tar -xf lighthouse.tar.gz
mkdir /etc/nebula
sudo cp Lighthouse/* /etc/nebula/
Now download the Nebula binary file from:
wget https://github.com/slackhq/nebula/releases/download/v1.0.0/nebula-linux-amd64.tar.gz
unzip the tar.gz then move it to /usr/bin/:
sudo mv nebula* /usr/bin/
Now add Nebula to cron tab so it starts up on reboots.
sudo echo "@reboot root nebula -config /etc/nebula/config.yaml" >> /etc/crontab
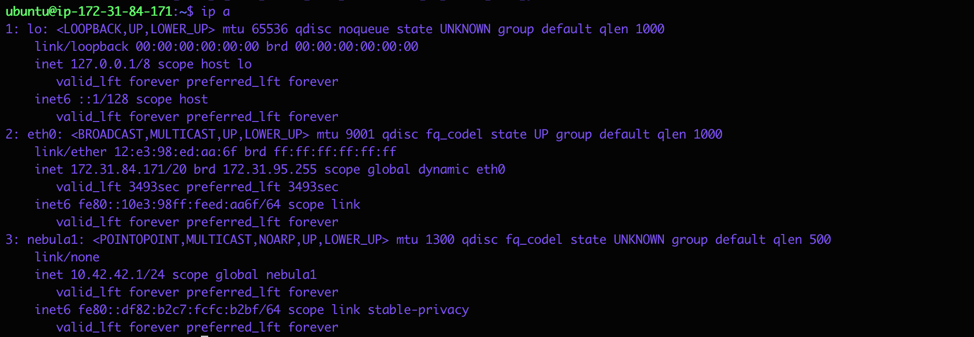
Now reboot and enter the command ip a to see nebula configured.
How to configure node(s)
Now we will configure a node. You can create as much node as needed.
For demonstration I will create one node and you can follow the same step to create how many ever you want;
Let’s create a node for test.
Step 1: Create a certificate for the test node;
Go back to CA authority VM:
./nebula-cert sign -name "test" -ip "10.42.42.100/24"
Create config.yaml file for node (You can find example config.yaml
Example config file for node:
pki:
  ca: /etc/nebula/ca.crt
  cert: /etc/nebula/host.crt
  key: /etc/nebula/host.key

static_host_map:
  "10.42.42.1": ["external IP:4242"]

lighthouse:
  am_lighthouse: false
  interval: 60
  hosts:
    - "10.42.42.1"

punchy: true

tun:
  dev: nebula1
  drop_local_broadcast: false
  drop_multicast: false

firewall:
  outbound:
    - port: any
      proto: any
      host: any

  inbound:
    - port: any
      proto: any
      host: any
Zip the config.yaml and the test certificate and keys together and send it to the test VM/syetem (you can use any method, I used the scp command for this purpose because for my network setup).
scp -r test.tar.gz test:/home/ubuntu
unzip the file into /etc/nebula
sudo mkdir /etc/nebula
tar -xf pentester.tar.gz
sudo mv Pentester/* /etc/nebula/
Next, download the nebula binary from and unzip it:
https://github.com/slackhq/nebula/releases/download/v1.0.0/nebula-linux-amd64.tar.gz
tar -xf nebula-linux-amd64.tar.gz
sudo mv nebula* /usr/bin/
Finally add nebula to cron tab:
sudo echo "@reboot root nebula -config /etc/nebula/config.yaml" >> /etc/crontab
Now reboot the system and enter to check the configuration
Ip a
Repeat the same steps for any other nodes.
If you have any question reach out to me :)